Export guide
Export a BNZ statement
SmartStatement reads BNZ PDF statements directly, and BNZ also exports CSV. Either file imports the same way and syncs to a Google Sheet you own.
Step 1
Log in to BNZ internet banking on a computer
The desktop site carries the full download options. A phone can show transactions but will not always hand you a file.
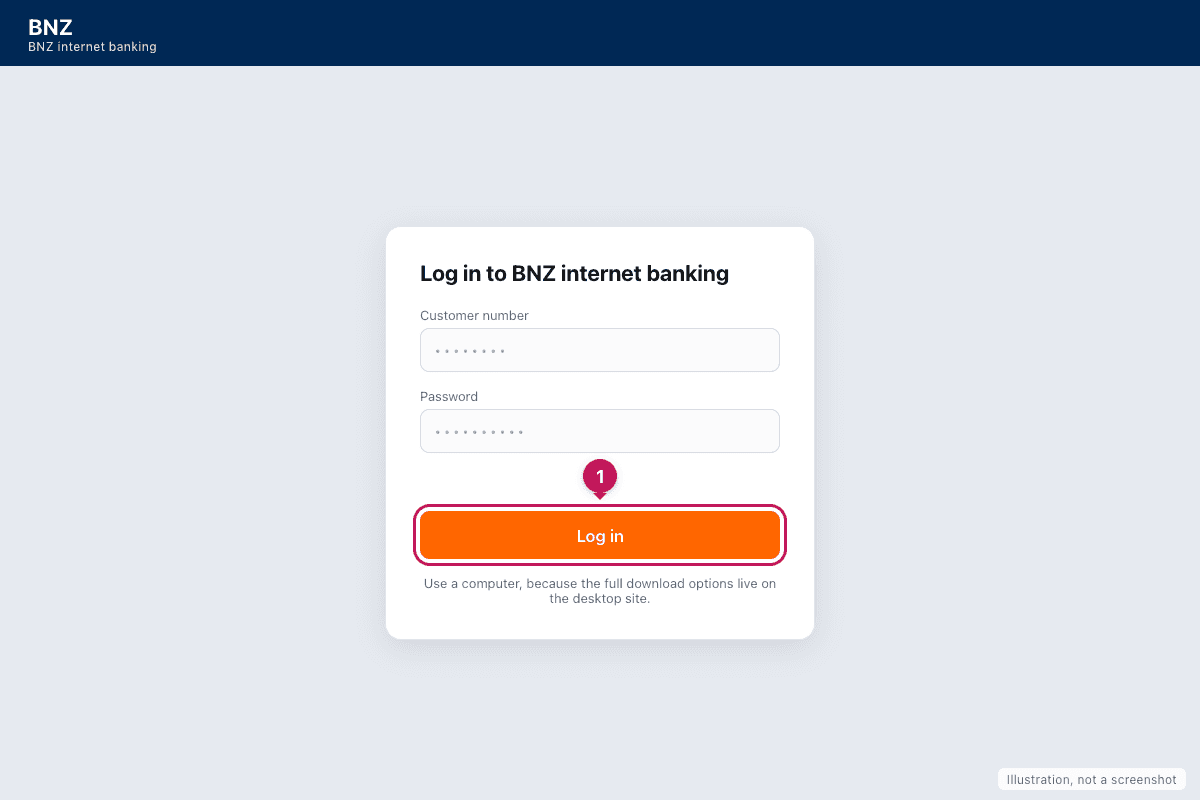
Illustration, not a screenshot. Your bank's screen may differ.
Step 2
Open Accounts, pick the account, then Statements or Export
Statements holds the PDF BNZ issued for each month. Export transactions gives you a CSV for the dates you pick.
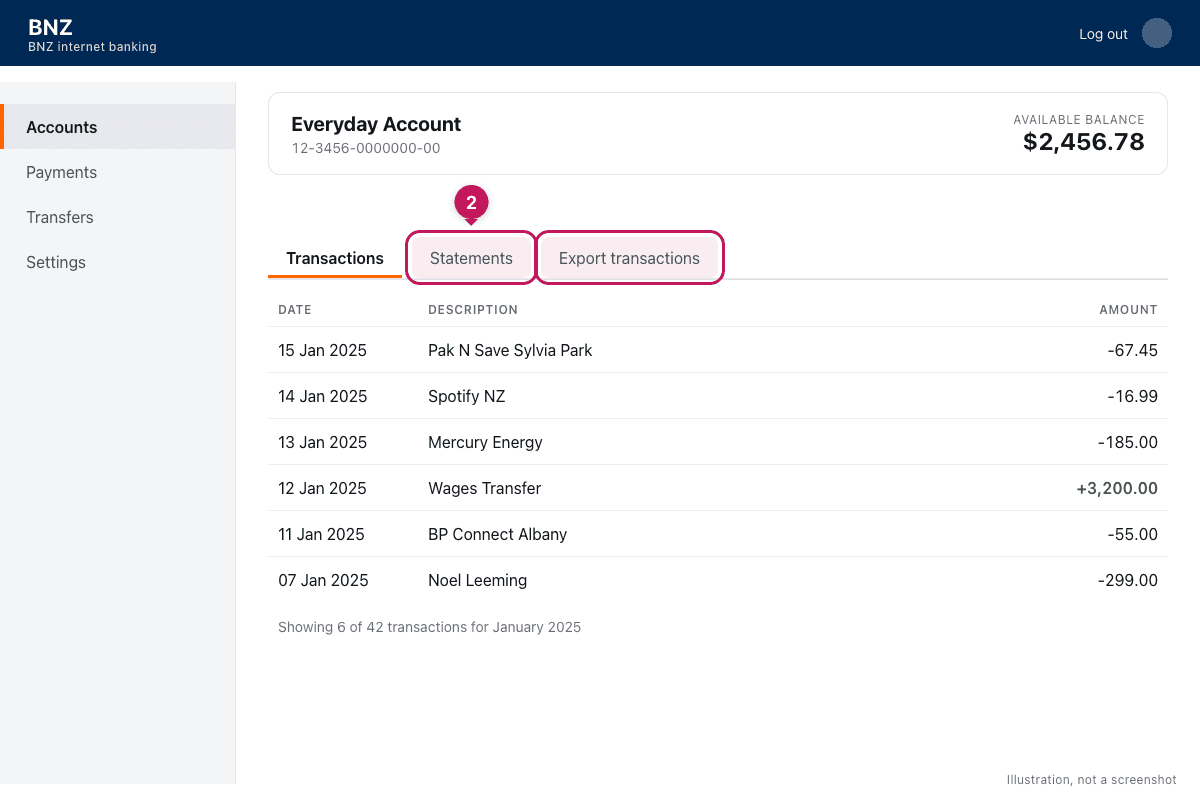
Illustration, not a screenshot. Your bank's screen may differ.
Step 3
Download the file, then import it in SmartStatement
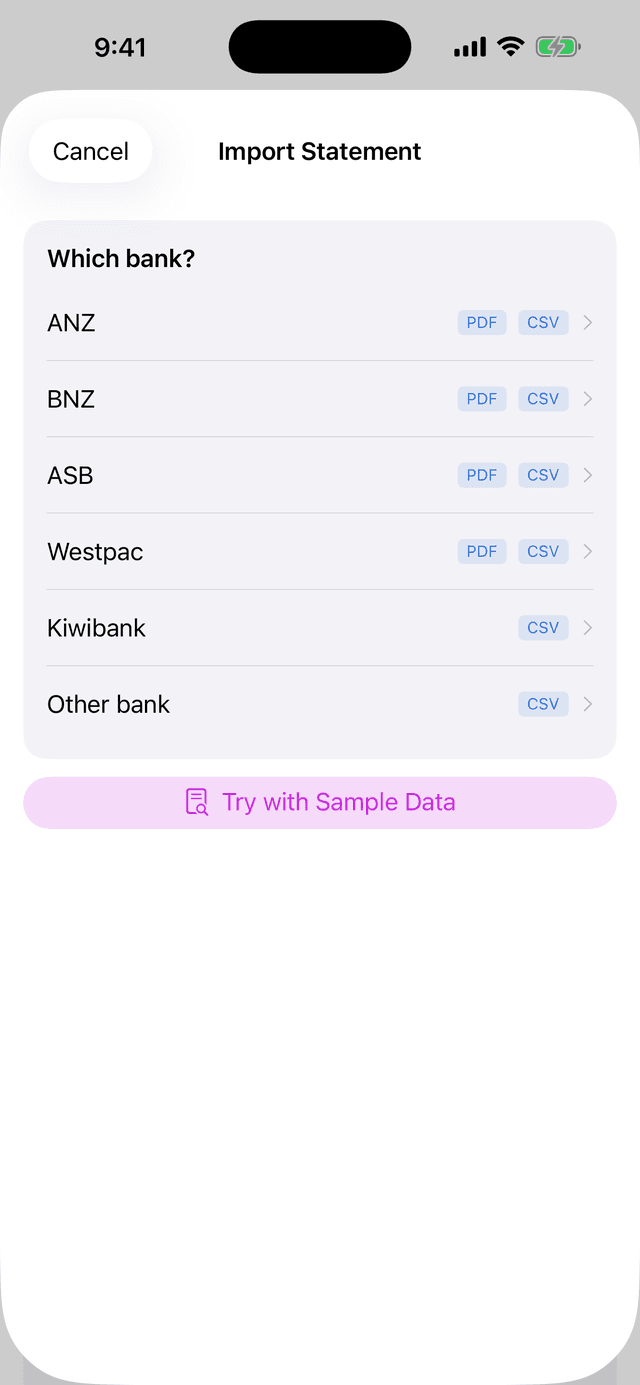
Save it to iCloud Drive or Files. Open SmartStatement, tap Import Statement, and choose the file you just downloaded.
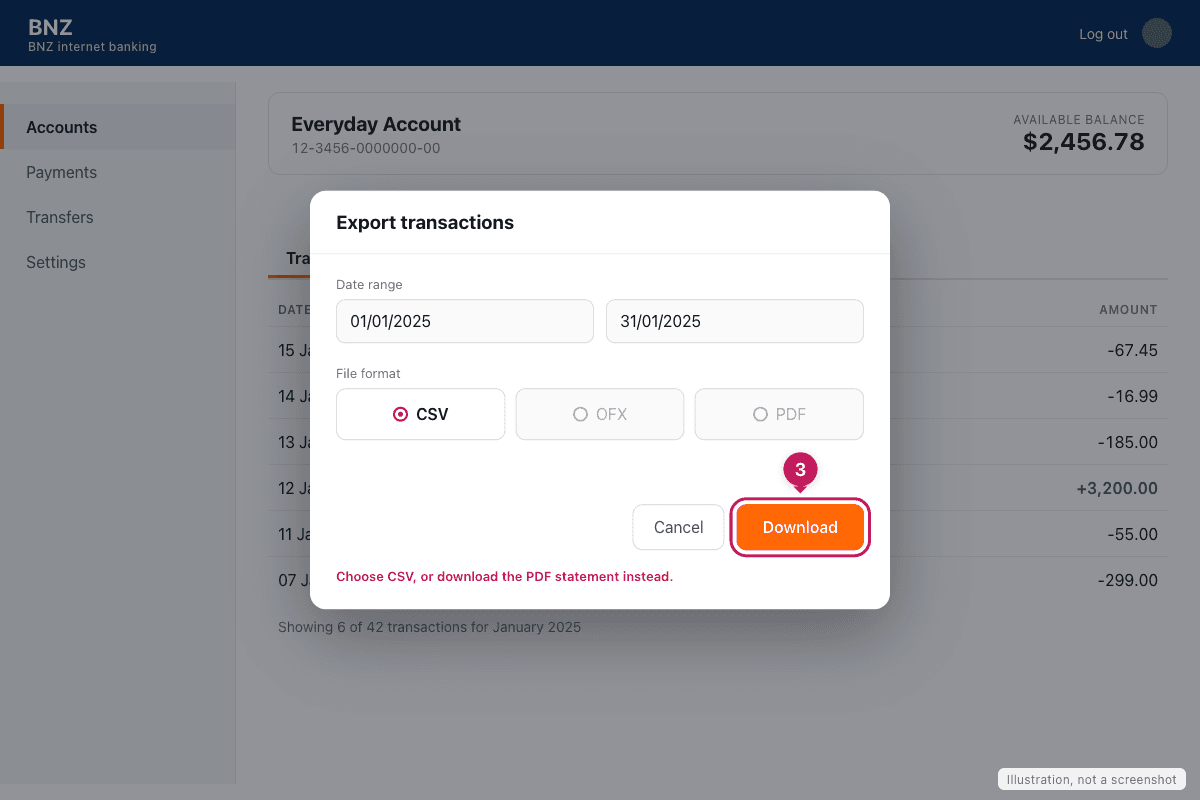
Illustration, not a screenshot. Your bank's screen may differ.
Before you export
- Pick CSV, not XLSX or OFX.
- Credit card statements are separate downloads.
- Choose the whole period you want to reconcile before exporting.
Last step
Import into SmartStatement
Tap Import Statement, pick the file, approve the categories it suggests, then sync the approved rows to a Google Sheet in your own Drive.